No Products in the Cart
So to coincide with the launch of our new Tavistock store I thought I'd let you see how I constructed the peg board shelving. It wasn't that difficult a task. The hardest thing was transporting the board (thank you Wayne) as it is rather heavy. For this project you will need the following:
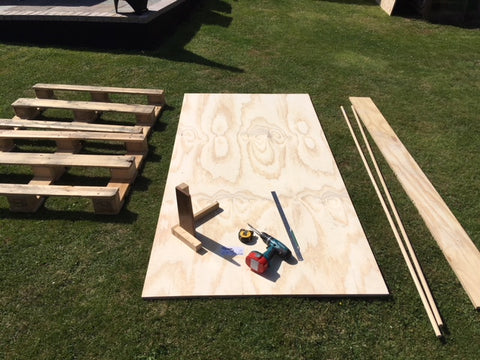
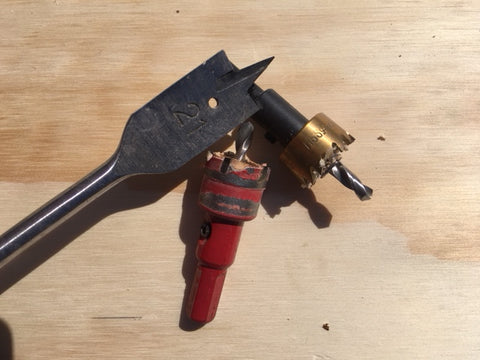
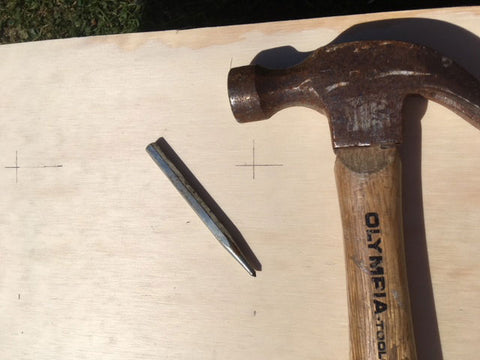
The Softwood Plyboard came from B&Q and cost £30 per sheet. The 21mm Dowels were ordered from eBay (£30 for 10 x 2440mm lengths delivered). The shelves are simply another sheet of the Plyboard cut into 20 and 30cm depth lengths (B&Q do the first 11 cuts for free). The Batons for fixing to the wall were £2.69 per 2440mm length and you need 3 x 1200mm lengths per board. I tried a few different drill bits as you see in the picture, but the holesaw arbor style bits are not deep enough to go all the way through the 18mm board so the standard wood bit was the winner and just cost a few pounds from eBay.
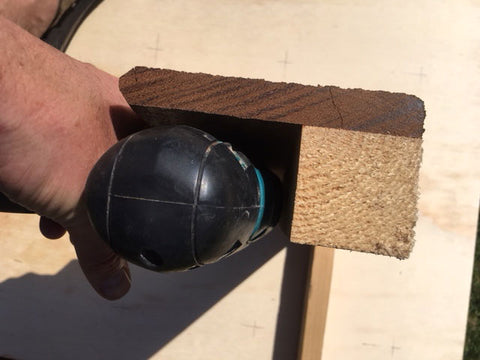
You need to make sure you have plenty of room to work eg, the garden. You also need to construct a right angle tool that will help you drill a straight hole through the wood. I just knocked up something from some bits of random wood I had hanging around the shed.
Lift the board onto your two pallets or similar and begin to measure out. I found that if I measured half way along one side of the board and worked out from either side of this it gave me more exact positioning.
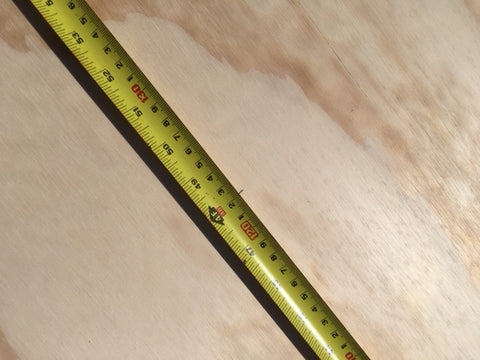
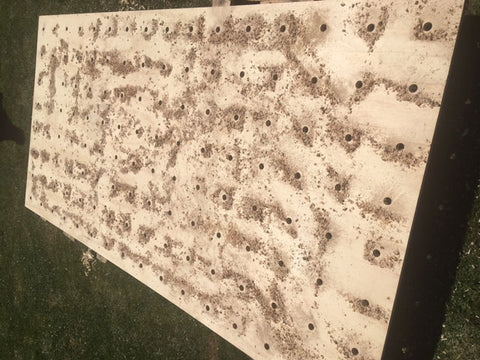
I used a spacing of 152.5mm between each hole (Note: the first hole will be 76.3mm either side of your centre line to give you the start of the 152.5mm hole spacing). This gives you 8 holes horizontally and 16 holes vertically. Repeat the measurement process a number of times across the board so you are sure that you get an exact straight line and don't mark too hard as you'll want to rub out the lines after you've finished.
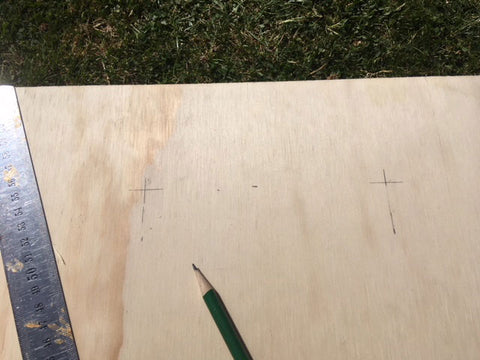
Once marking out is complete you need to centre punch all the cross centres so you drill exactly.
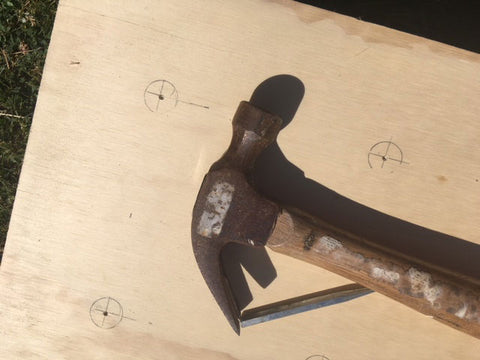
Now the fun begins and you start the drilling. Make sure you have a spare battery on charge (if you're cordless) as it did take about 3 or 4 charged batteries to complete a board. Use your guide to make sure you are drilling straight into the board as the last thing you want is wonky shelves.
When finished brush up the sawdust on the board (I then used an air vac to hoover the grass).
To mount the board simply cut up 3 x 1200mm lengths of batoning. Screw your first baton into your wall at roughly the half way point (Note: I first established how high I wanted the board from the floor then measured up 1220mm from that point). Next measure 610mm above and below your centre baton and fix the other two batons in place (I used a minimum of 4 screws for this per baton). Now you can mount your plyboard to the batons ((Note: measure the same distances out on the board so you make sure you drill in the right place and you'll need someone to help hold the board in place while you fix). Make sure you don't drill into the same place that you screwed the batoning into the wall. For aesthetics I chose to drill in line with the outside holes and the two middle holes.
Step 5
Now your Peg Board is hung you want to order yourself some 21mm Batons/Dowels (I found 10 x 2.4m lengths for £29.99 on eBay) and chop these to size. As I used 200mm and 300mm deep shelves the dowel sizes were 236mm and 336mm. (ie, 18mm Batoning, 18mm Peg Board 200/300mm Shelf).
Voila you have your own Peg Board.